How to make paper File Folder
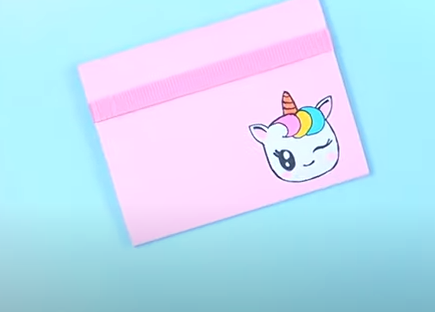
Instructions to Make a Paper File Folder
A Bit by bit Guide
Summary
Making a paper document envelope at home or in the workplace can be a tomfoolery and valuable specialty. Whether you’re hoping to coordinate reports store significant papers or absolutely get imaginative with some Do-it-yourself making your own record envelope is an extraordinary venture. In this aide well walk you through the most common way of making a paper record envelope complete with itemized advances tips and customization thoughts. No extraordinary devices are required simply fundamental supplies like paper paste and scissors. We should plunge into how to make a straightforward yet useful paper record envelope

Association is vital to keeping a messiness free work area and a very much created record envelope can assist with keeping significant reports all together. While locally acquired record envelopes are helpful making your own gives you the adaptability to tweak it as per your inclinations. You can pick your 1 varieties examples and plans adding an individual touch to something as unremarkable as a record envelope. Furthermore its an extraordinary method for reusing paper and use materials you as of now have around the house.
for more article check this out https://affanartandcraft.info/how-to-make-easy-bunny-bookmark/
In this article we will direct you through the most common way of making a fundamental paper record envelope with extra thoughts for upgrading and customizing your organizer.
Materials You’ll Need
Before we start here’s a rundown of the materials you’ll have to make your paper document organizer. The greater part of these things are usually found at home or in the workplace making this a straightforward and financially savvy project
Heavyweight paper or cardstock size A4 or bigger
Ruler for exact estimations
Pencil to check estimations
Scissors or a paper shaper
Stick or twofold sided tape for collecting the envelope
Beautiful materials discretionary markers stickers washi tape and so on.
These are the fundamental instruments expected to make a useful paper record envelope. Nonetheless assuming you’re hoping to get innovative go ahead and add more beautifying things.
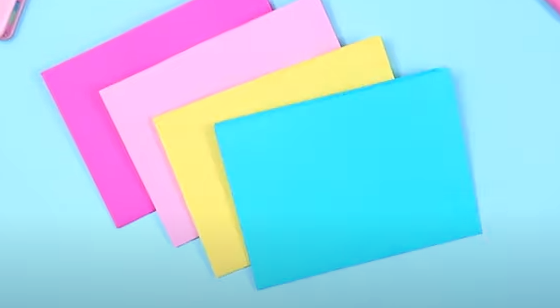
Stage 1 Picking the Right Paper
Why Heavyweight Paper or Cardstock
The first and most significant choice while making a record organizer is picking the right kind of paper. While ordinary printer paper can work supporting the heaviness of various documents is frequently excessively slender. Therefore utilizing heavyweight paper or cardstock is great. Cardstock is thicker more strong and can endure the dealing with and strain of put away records.
You can utilize plain cardstock or pick designed or hued paper contingent upon your inclination. On the off chance that you need a more expert look stick to unbiased or muffled tones. For a tomfoolery customized envelope pick splendid tones or printed paper that mirrors your style.

Stage 2 Estimating and Cutting the Paper
Estimating the Envelope Aspects
Whenever you’ve chosen your paper now is the ideal time to gauge the components of your record envelope. The standard size for a record envelope is intended to fit A4 paper so on the off chance that you’re working with A4 or Letter Sized reports you’ll believe your organizer should oblige this size easily.
Begin by laying your cardstock or heavyweight paper level on a spotless surface. Utilize a ruler and pencil to check out the level and width of your envelope. Try to represent sufficient room so the envelope will totally encase your archives without them looking out.
Cutting the Paper
When the aspects are checked utilize a couple of scissors or a paper cutter to cut along the lines cautiously. Be exact as lopsided edges can influence the general appearance and usefulness of your organizer. On the off chance that you’re cutting different envelopes it could assist with involving the first as a layout for the rest.
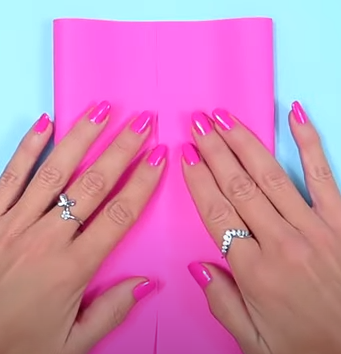

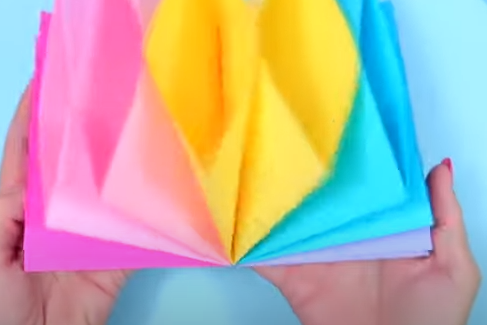
Stage 3 Collapsing the Paper
Making the Envelope Construction
Since you have your removed paper now is the ideal time to crease it into the state of a document envelope. Begin by collapsing the paper fifty adjusting the edges impeccably to guarantee a slick and even overlay. Utilize a ruler or the edge of your scissors to solidly push down on the overlay making a sharp wrinkle. This will be the spine of your record organizer.
If you have any desire to add a extra spine width to oblige more papers you can add an extra crease of around 1 cm 0.4 inches along the base prior to collapsing it fifty. This will make a gusset permitting your envelope to grow.
Making the Pockets
To keep your reports from getting out you’ll have to add pockets to the sides of your document envelope. There are two familiar ways of doing this
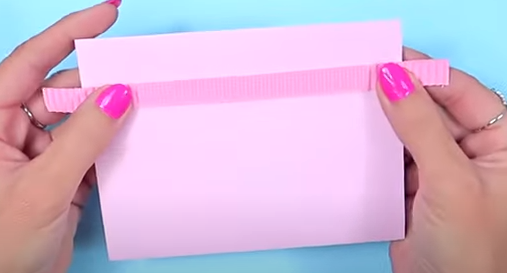
- Basic Side Pockets In the wake of collapsing the envelope down the middle overlap around 1.5 cm 0.6 inches from the external edge of each side internal to make the pockets. Use paste or twofold sided tape to get the collapsed edges down shaping a pocket on each side where papers can slide in.
- Triangular Pockets On the off chance that you need a more embellishing or supported plan cut triangles from the base corners of the envelope prior to collapsing. In the wake of cutting overlap the excess base edges up to shape pockets. Secure them with paste or tape.
The two strategies function admirably so pick the one that best accommodates your style and needs.

Stage 4 Getting the Edges
Utilizing Paste or Tape to Gather
Whenever you’ve made your folds and pockets the following stage is to get the edges. Use glue or double sided tape to keep the edges of your envelope intact. Make certain to apply the glue perfectly and sparingly as an excessive amount of paste can make the paper twist or crease.
Begin by sticking the base pocket folds set up it are adjusted and get to guarantee they. Then cautiously press the edges of the envelope together utilizing a ruler or your fingers to streamline any air bubbles. Permit the paste to dry for a couple of moments prior to continuing.
Assuming that you’re utilizing twofold sided tape its much simpler. Just strip off the support and press the tape along within the organizer where the pockets meet. This makes a protected hold without the wreck of paste.
Stage 5 Redoing and Enlivening Your Organizer
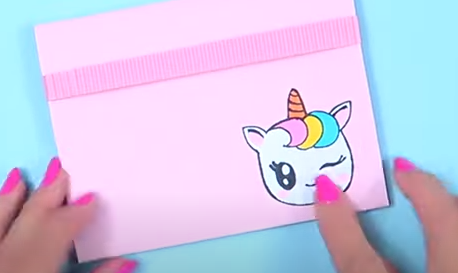
Customize with Tones and Examples
Now that youve built the essential organizer now is the right time to play around with customization. Whether you need a moderate proficient look or a bright innovative envelope finishing your record organizer is an incredible method for making it your own.
Here are a few thoughts for customization
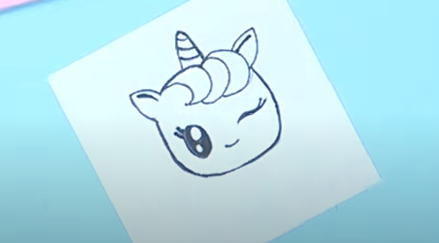
Markers and Pens Utilize hued markers or pens to add plans names or doodles to the front and back of your envelope. You can likewise compose a title or your name on the envelope to effectively recognize its items.
Stickers and Washi Tape Add stickers washi tape or other enhancing embellishments to the edges or front fold. Washi tape arrives in different examples and varieties and can add an exceptional pizazz to your organizer.
Stencils and Stamps Use stencils or stamps to make perplexing plans or monograms on your envelope.
Marking Your Organizer
To make your record organizer significantly more practical consider adding a label. Marks assist you with rapidly distinguishing the items in the organizer without opening it. You can either print a mark or handwrite one. Put the name on the top or side of the envelope for simple review.
Stage 6 Supporting the Envelope
Use Tape for Strength
On the off chance that you intend to utilize the envelope habitually or haul it around a ton consider building up the edges and spine with clear pressing tape. This will assist with keeping the paper from tearing over the long run particularly assuming the envelope holds weighty or thick reports. Apply the tape cautiously along the spine and the edges trying to streamline any air bubbles.
For additional sturdiness you can likewise overlay the envelope however this step expects admittance to a covering machine. Covering will shield your envelope from mileage as well as make it watersafe.


Stage 7 Extra Varieties
Growing Document Envelopes
On the off chance that you really want more extra room you can undoubtedly adjust the fundamental envelope plan to make a expanding document folder. To do this make numerous collapsed areas like an accordion to add profundity to the organizer. This is particularly valuable assuming you have numerous classes of reports to store in one envelope.
Encompass Style Envelope
Another variety is to make a envelope style folder. Rather than the conventional open top plan crease a fold over the envelope and secure it with a string conclusion button or Velcro. This is great for putting away delicate or significant reports as the envelope stays shut and get.
Conclusion
Making your own paper document organizer is a tomfoolery simple and viable task that permits you to remain coordinated while communicating your imagination. By following this bit by bit guide you’ll have a specially crafted record envelope that is both useful and jazzy. Whether you’re involving it for work school or home association this Do-it-yourself envelope will assist with keeping your archives perfect and available.
The magnificence of making a paper record organizer lies in the vast opportunities for customization. From picking the right tones and examples to adding


Post Comment