How to make Origami Lucky Star
Making an Origami Lucky Star:
Step-by-Step Instructions
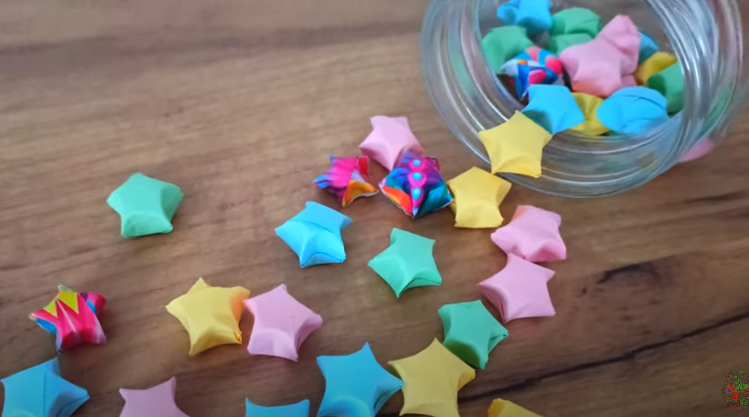
Origami Lucky Stars, often known as wishing stars, are little, attractive paper crafts with symbolic significance. In Japanese culture, folding 1,000 lucky stars is said to give the crafter one desire. These gorgeous stars are simple to make and may serve as ornamental pieces, presents, or as good luck charms. In this lesson, we’ll walk you through the process of folding an origami lucky star step by step.

for more fantabulous article check out this link here ;
https://affanartandcraft.info/how-to-make-paper-file-folder/
Materials Required
To start, you will need:
A strip of parchment paper (about 1 cm broad by 25 cm long)
A flat area for folding.
You may use any type of paper, although lighter-weight paper is preferred. Strips may be cut from newspapers, origami paper, or Even multi-colored printer paper.

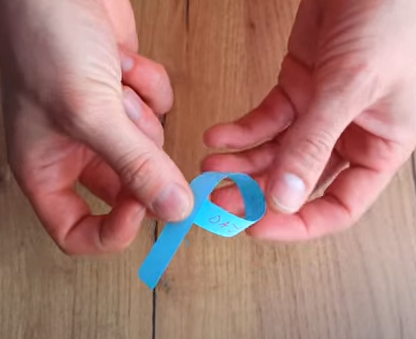
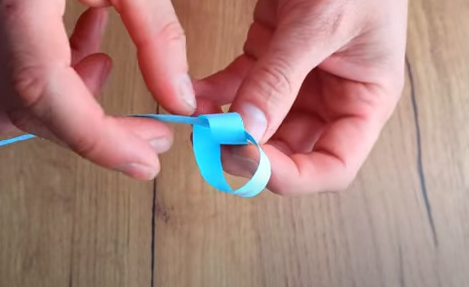
Step 1: Make a knot.
- Take one end of your paper strip and construct a **knot** by folding it over itself, similar to how you would begin tying a ribbon.
- Gently tighten the knot tight but not too hard; it should still be somewhat flexible in form. Make sure the knot is flat and makes a **small pentagon** shape.
- Gently push down on the knot to flatten it, making sure the pentagon’s corners are clearly defined.
- Fold the strip’s shorter tail behind the pentagon shape and fasten it with a knot. Trim any surplus paper as needed.
This pentagon will act as the foundation for your fortunate star.
Step 2 : Fold it Strip Surrounding the Pentagon
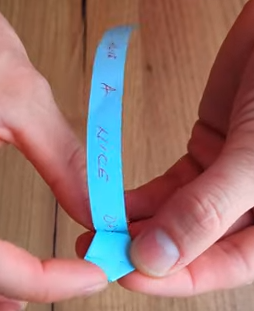
- Begin folding the longer section of the paper strip around the pentagon. Follow the typical angles of the a pentagon, looping the strip around its sides.
- Continue folding the strip, enabling it to follow the shape of the pentagon. Each fold should precisely match with the preceding one to keep the pentagonal form.
- Keep twisting the strip until just a little portion remains.
The pentagon should be getting larger as the strip loops around it.
Step 3: Tuck the End
- When you have a tiny tail of paper left, tuck it under one of the folds to keep it tight.
- Ensure that the strip is completely tucked in and that There are no loose edges poking out. The pentagon should be clean and smooth.

Step 4: Fluff Up The Star
- Place a pentagon in your fingers and gently push in the sides with the tips of your nails or the edge of a flat instrument.
- Press the sides inward, and the star will inflate out, becoming a three-dimensional shape. Be cautious not to flatten the star too much—a little push is enough to create the trademark puffy effect.
- Continue to tweak the edges until your star is uniformly inflated and symmetrical.
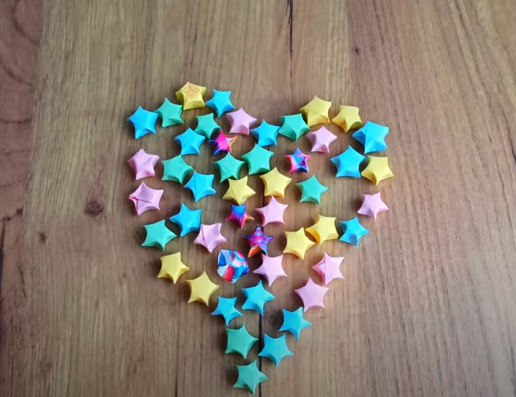
So there’s you have it! Your origami lucky star is finished.

Tips for Making Perfect Stars.
– Begin with a larger strip of paper: If your stars are too tiny or hard to fold, try or room décor.
Good Luck The charms:Keep a couple in your wallet as a good luck charm, or gift them to friends as mementos of good fortune.

Conclusion:
Origami lucky stars are an easy and enjoyable craft that requires few materials and time to complete. Whether you fold them as a hobby, a tradition, or as a gift, these little stars add a touch of magic and creativity to any event. Once you’ve mastered the fundamentals, you can create countless stars and experiment with different sizes and colors. Happy folding!






Post Comment