How To Make Easy Bunny bookmark
How to Make a Paper Bunny Bookmark:
A Fun & Simple Craft
let make this unique paper bunny bookmark
Are you looking for a pleasant and useful method to mark your spot in a book? How about making a charming paper rabbit bookmark.

For more interesting article check this link ;
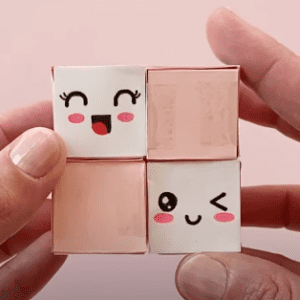
https://affanartandcraft.info/how-to-make-an-infinity-cube/
## Essentials You’ll Need ;
– A sheet of colored paper (since you can choose whatever color you want for your rabbit)
– Scissors
– Double-sided tape or glue stick.
– A pencil.
– A ruler (optional but useful for straight lines).
– Marker or colored pencil for decoration.
### Steps to Make Your Paper Bunny Bookmark

Get ready Your Paper:
Begin by selecting a piece of colorful paper. If you like, you can start with a white paper and colored it later. Cut the paper to a rectangle form. A suitable bookmark size is around 2 inches wide and 6 inches long.
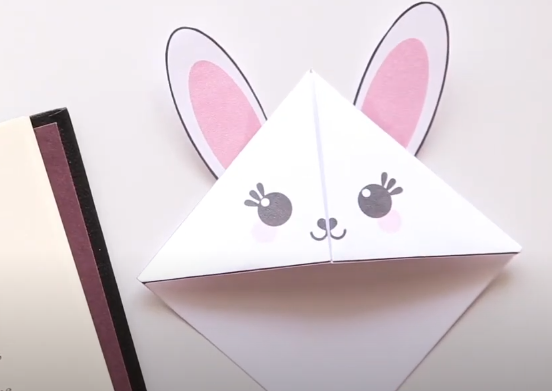
Draw a rabbit shape or print out:**
On your rectangle, draw an easy rabbit shape. You may make it as complex or as basic as you want. For newcomers, a basic shape with broad ear and an oval body is ideal. Use a pencil to make corrections before cutting. The easy step is to print out the drawing so you can easily make this bookmark.
Cut out the Rabbit:**
Cut carefully along the outlines of your bunny drawing. If you’d like to make sure that the bookmark is robust, you might glue Alternatively attach an additional piece of paper to the backside of your cut-out before proceeding to the next step.

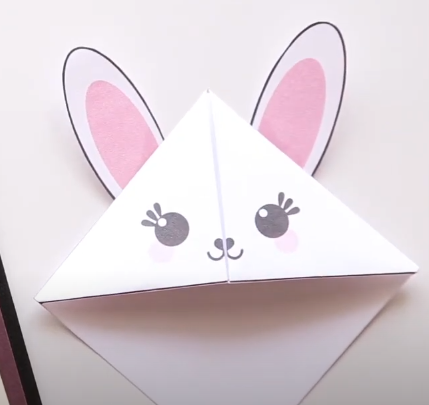
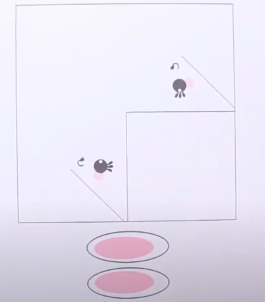
Provide Details:**
Once you’ve created your rabbit shape, it’s time to add personality! Using markers or colored pencils, create eyes, a nose, and a mouth. You can even include elements such as whiskers, a bow-type tie, or even a small tail. Be imaginative and have joy with it!
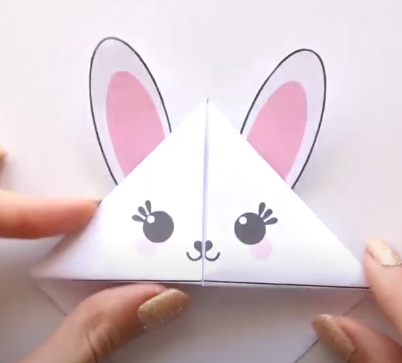
Create a Bookmark Tab:**
To make your bookmark usable, fold a small portion of the bottom of the rectangular structure up to form a tab. This will help your bookmark stay in position when placed into a book. To achieve the greatest results, ensure that your fold is crisp and even.
Set Up Your Bookmark:**
If you used extra paper for resilience, now is the moment to glue each layer together. Attach your rabbit cut-out to your bookmark base using a glue stick or tape with two sides on the back. Ensure that everything is properly positioned and firmly pushed.
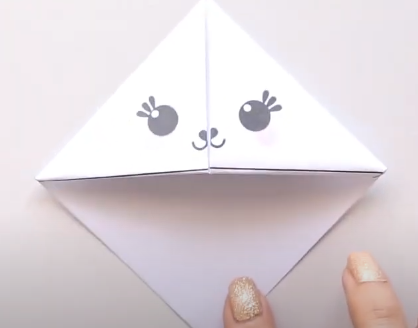
Finishing Touches:**
After the adhesive has dry, check your bookmark. Cut any uneven edges and add any finishing touches to the rabbit’s design. Your bookmarking is now prepared to use.
Appreciate your creation!
Your new paper bunny bookmark will provide you with a unique and charming method to keep track of where you are in any book. This creative activity is not only amusing, but it also makes an excellent gift for other book enthusiasts. Additionally, you may experiment with various coloration. and designs to build an entire set of bookmarks!


Post Comment