How to make an Infinity cube
Creating a Paper Infinity the Cube:
A Guide for Every Step
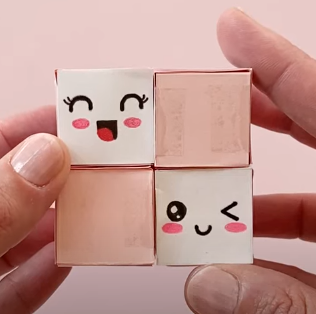
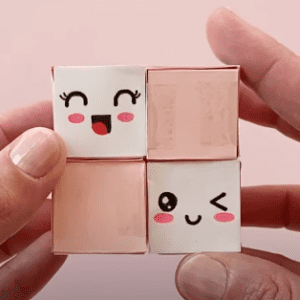
Creating a paper infinite cube is a fun and fascinating craft project that will keep you entertained for hours. This geometric toy folds and unfolds in a variety of ways, resembling the unending motion of an infinity sign. Here’s an easy way to create your paper infinite cube.
for more articles check out this
https://affanartandcraft.info/diy-teachers-day-card/
Materials You’ll Need
6 sheets of square sheet (origami paper is ideal, but any kind of paper cut into squares would suffice).
Scissors (for cutting paper to size)
Glue or Tape
A ruler (optional for accurate measurements)
Step-by-step instructions.
Prepare your paper squares.
Cut your paper. If your paper isn’t already square, cut it into six equal squares. The squares should it should be the same size. A reasonable beginning size is six by six inches, though you can alter your liking.
Crease the Squares**: Fold every square diagonal in both directions to form an “X” crease pattern. That will help you out in the following folds.

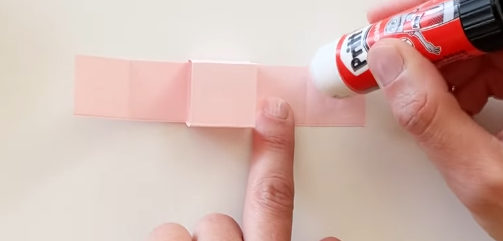
: Design the Basic Fold
- Fold in Half: Fold the squares in half horizontally and then unfurl. Fold it in halfway vertically, then unfold it again. This will create creases in your paper, dividing it into four similar rectangles.
- Create the corner folds: Fold each square corner toward the center, where diagonal creases join. You should have small squares with folds in the middle.
- **Fold The flaps:** Bend the top or bottom corners of the small square towards the middle crease. Do the same for the left and right edges. You would now have a compact rectangle with its corners folded inside.
Construct the Cubes
- Glue the borders: To make a 3D cube, gently glue or tape one of your foldable squares to the edges of another square. Verify that the squares are properly positioned to produce a clean cube.
- Repeat: Continue this technique until all six squares are formed into cubes. Each cube should be from edge to edge with the adjoining cubes.
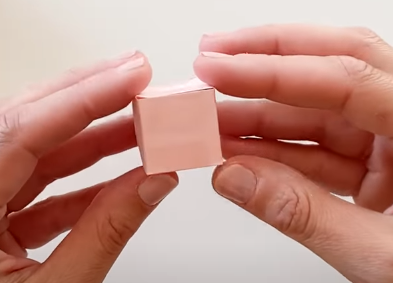
Attach the Cubes
- **Form The chain:** Begin linking the cubes by connecting one of them.
edge to another. You should get a chain-like arrangement of cubes.
Finish the Infinity Shape: Carefully fold the connecting chain into a cube shape. You may need to rearrange the cubes until they fit together perfectly and make a complete infinite shape
- **Secure Shape:** Once all of the cubes are joined and aligned, apply tape or glue to bind the finished shape. Make sure all of the edges are securely linked so the infinite cube sticks together properly.
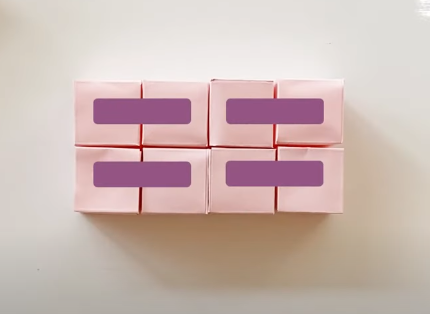

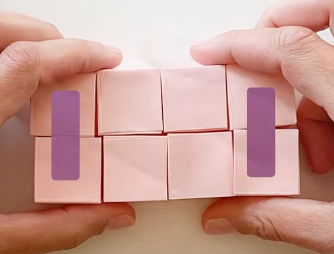

Tip & Tricks
– **Use various colors:** Use different colored or patterned paper squares to create a more visually pleasing infinity cube.
– **Be precise:** Accurate folding and edge alignment will ensure that your infinity cube runs smoothly.
– **Be Patient:** It may take some time to get your folds and connectors exactly right, so don’t be disheartened if the initial attempt isn’t flawless!

Final Thoughts
Congratulations, you’ve created your very own sheet infinity cube! This simple yet interesting craft is additionally a fun way to spend time, but it also serves as an outstanding display of geometric principles. Whether you make it for pleasure or as a gift, this infinite cube will impress and entertain. Enjoy infinite folding and unfolding!







Post Comment