How to Make a Cake Pop up Card
How to Make a Cake Pop up Card
Make a Cake Pop-Up Card with This Simple Guide
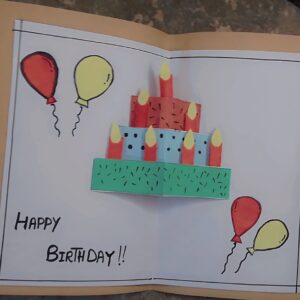
It’s a kind and imaginative gesture to make a personalized pop-up card for a birthday. It demonstrates your concern for your family. We’ll demonstrate how to create a lovely happy birthday pop-up card in this article. Your family and friends will be pleased with it.
Everything from selecting supplies to assembling the pop-up will be covered. You will be able to apply your paper-crafting knowledge. Also, you’ll discover how to create a distinctive greeting card.
for previous article click the link below
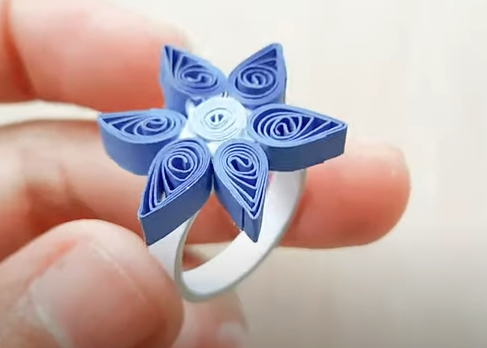
https://affanartandcraft.info/paper-quilling-ring/
Important lessons learned
Find out how to create a customized, one-of-a-kind happy birthday pop-up card. Find out what supplies and optional embellishments you’ll need.
Detailed instructions are provided for building the card base and putting the pop-up mechanism together.
Investigate embellishment concepts and customization methods to elevate your card.
Find out how to present and give homemade cards to make them stand out.
Overview:
The Craft of Pop-Up Cards
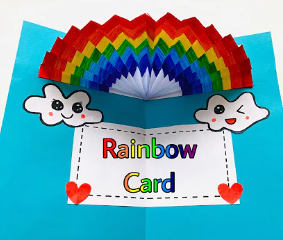
Pop-up cards give birthdays an entertaining surprise. When they unfurl, intricate, striking designs are displayed. They are therefore a unique and heartfelt present. We’ll walk you through creating a birthday pop-up card.
Paper technology and origami have a long history preceding pop-up cards. They have grown more intricate and sophisticated over time.
These days, they’re a popular choice for birthday greeting cards and paper crafts.
Pop-up cards combine paper engineering and do-it-yourself crafts. It requires originality, steadiness of hand, and attention to detail. It’s satisfying to create a pop-up birthday card, regardless of expertise level.
We’ll walk you through creating a special birthday card that pops up. You will get knowledge about the pop-up mechanism and material selection. Prepare to create a unique birthday card that will be cherished for many years.
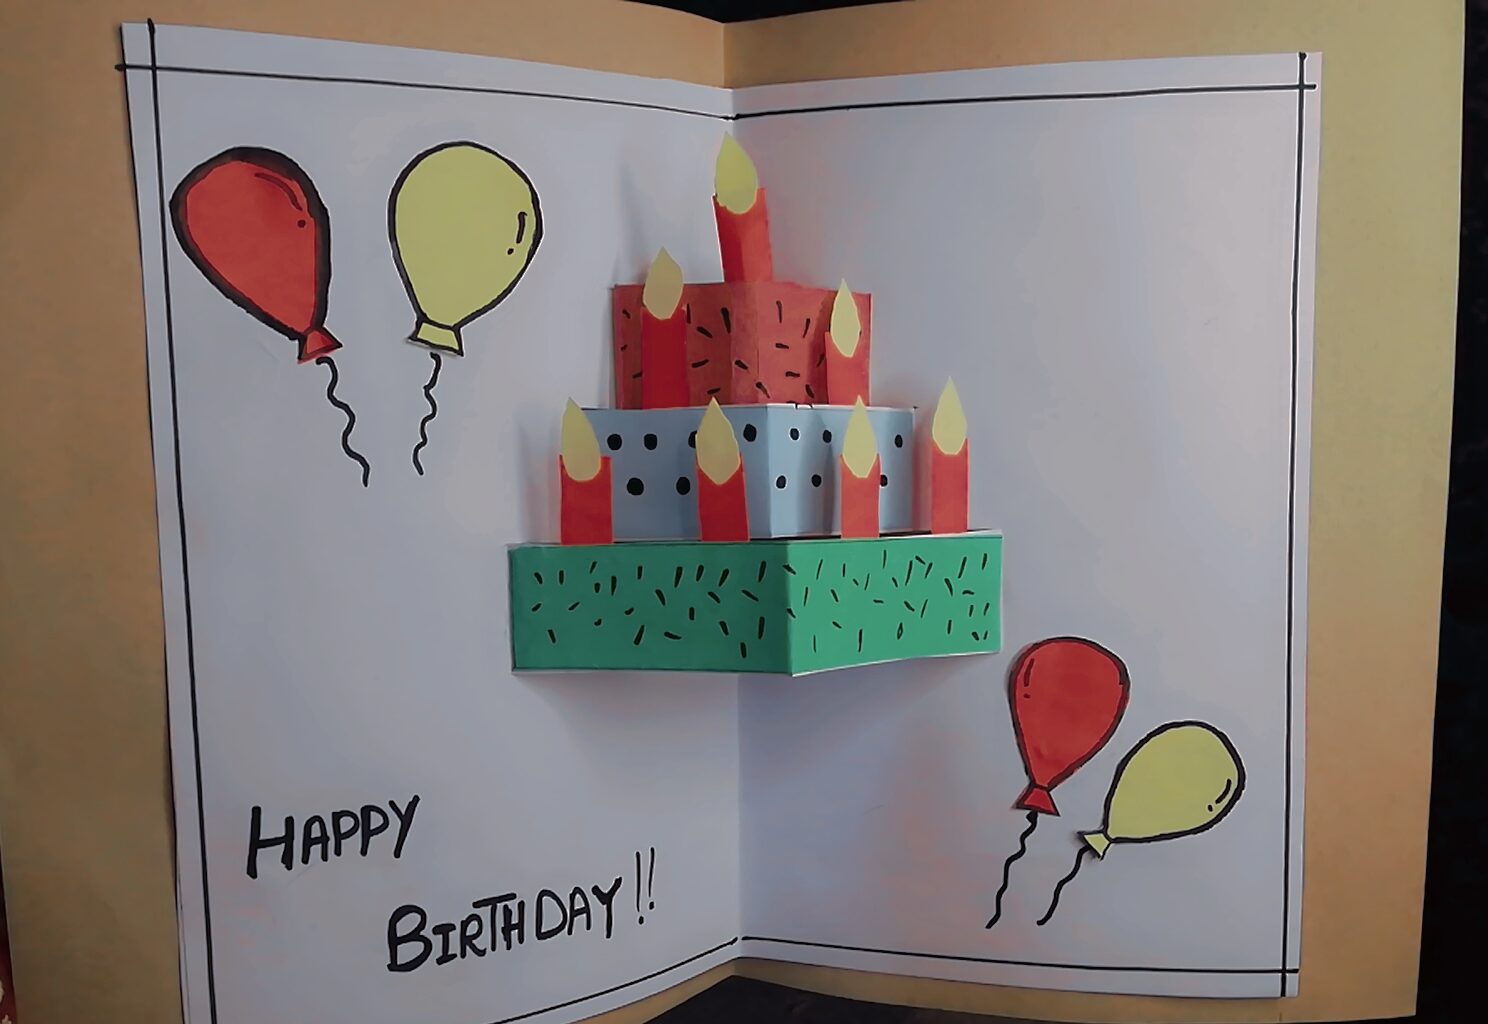
Supplies Required for a Pop-Up Birthday Card
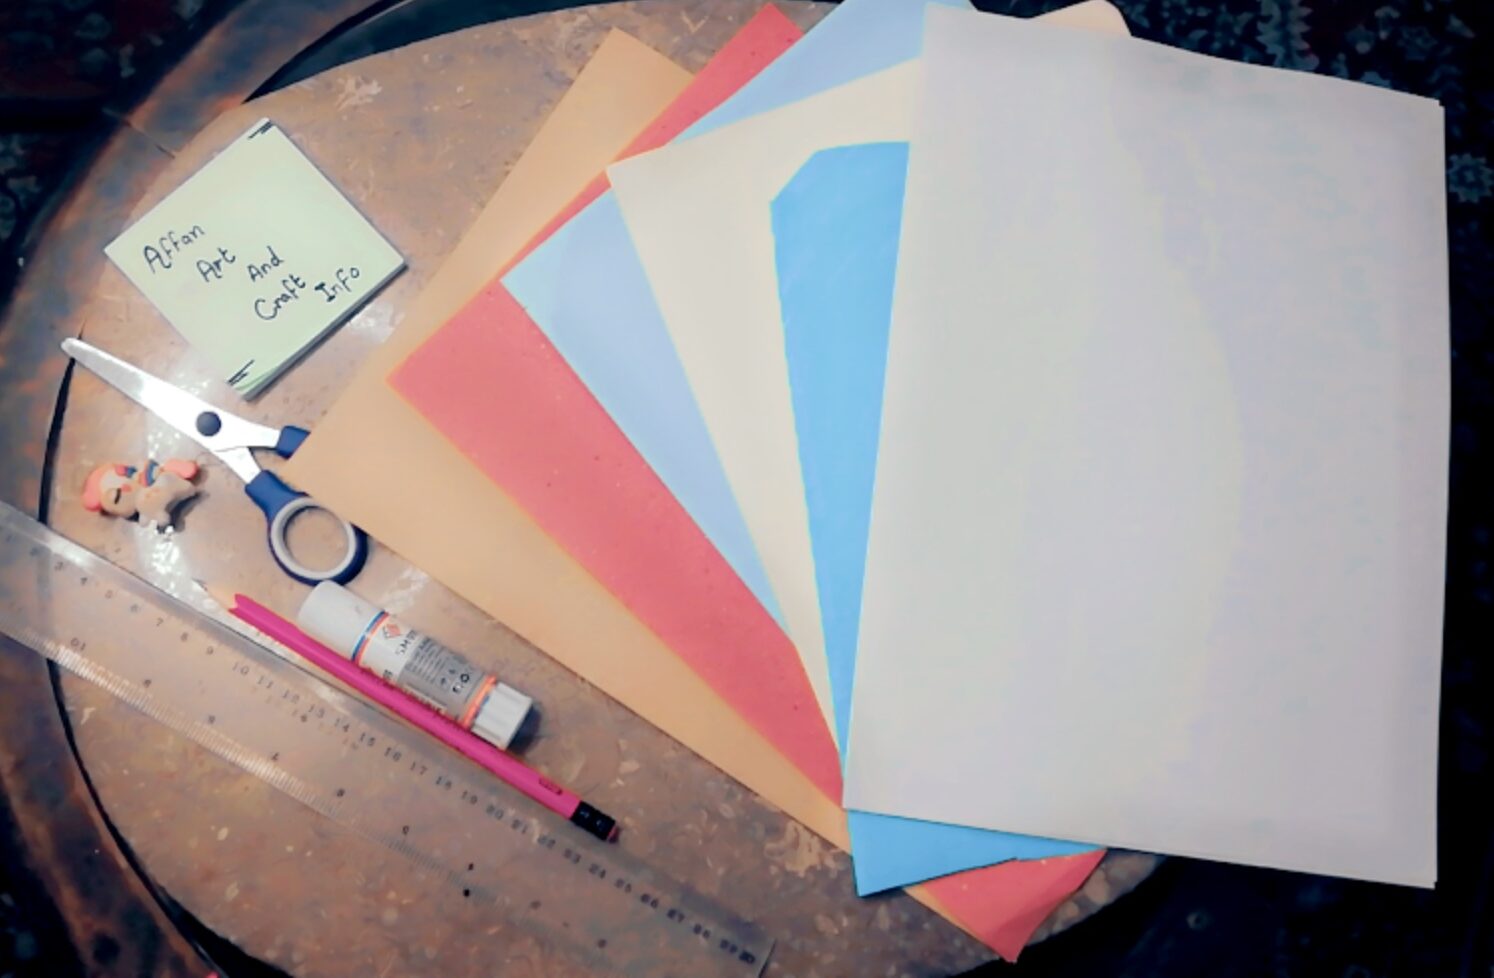
In order to create a happy birthday pop-up card, a few essentials are required. A ruler, scissors, glue or a glue stick, colored card stock, and adhesive are required. You can begin your paper creating journey with these fundamentals.
Essential Materials
colored card stock in the colors you want
Cutting scissors for card stock
Using glue or a glue stick, put the card together.
Using a ruler to guide and measure your cutting
Materials:
A5 Sheet of Paper is the equipment needed for the cake layers.
A6 Card: Serves as the pop-up card’s foundation.
Customize your design with the Paper Scraps for Decorating
Scissors: Used to cut paper.
-Glue Stick: For joining parts.
Detailed Steps to Follow
- Get the Paper Ready
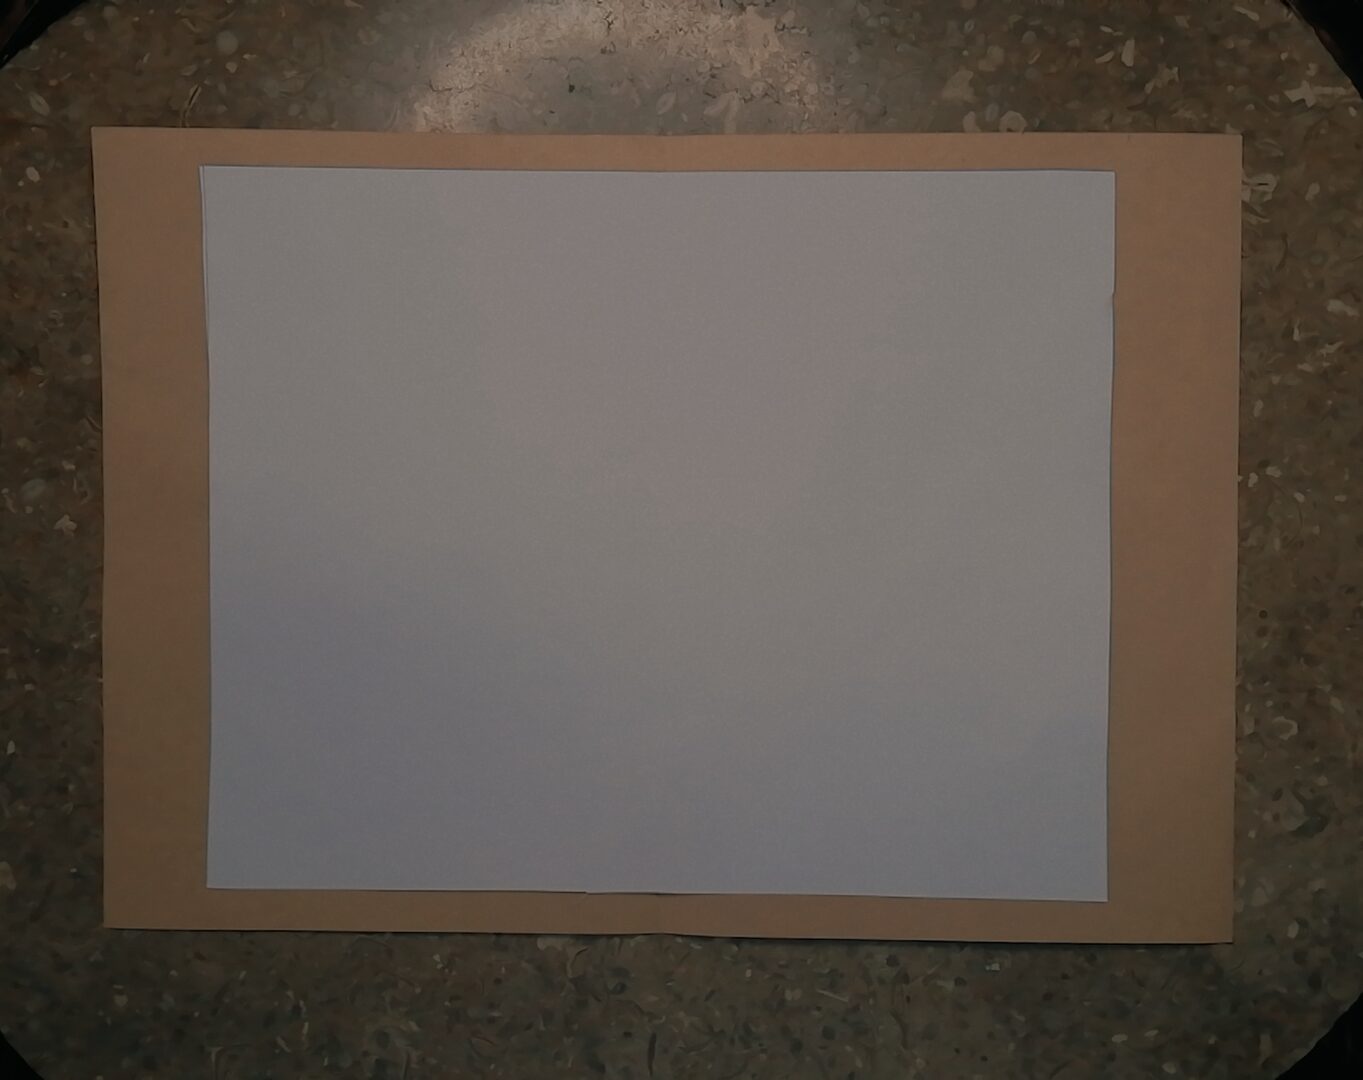
Cut your A5 sheet of paper a little bit smaller than your A6 card, so that it fits inside the card nicely and makes a frame.
- Create Custom Cake Toppers
Consider straightforward cake toppers, such as tiny bridal and groom figurines or candles. You don’t need to be an artist to achieve outstanding results with a basic design!
- Cake Measurement
Place your toppers up against the folded paper to get the appropriate the cake’s top and bottom heights.
- Separate the Cake Area
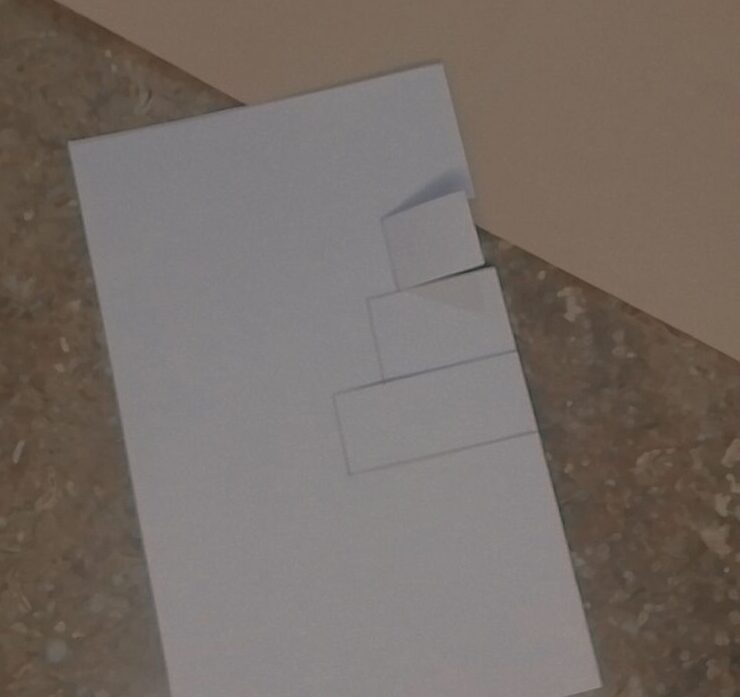
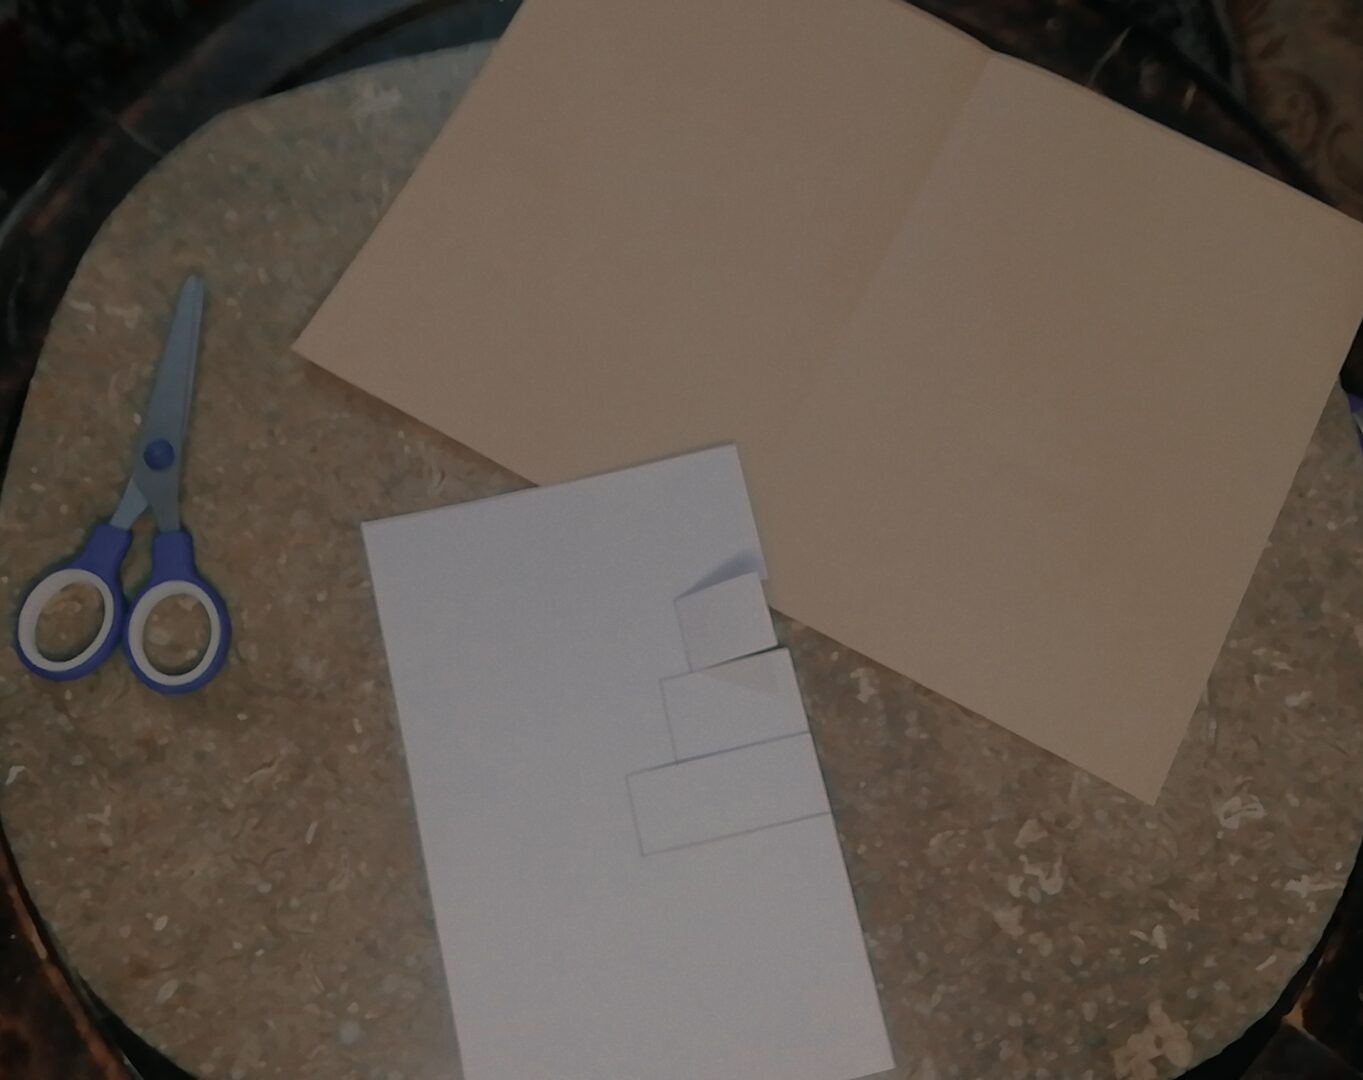
Segment the cake area into three equal sections parallel to the folded paper’s spine. The lowest tier should measure roughly 5 cm, or half the length of the card.
5. Make the Cuts
Make the following four cuts: – **Two Long Cuts**: about 5 cm – **One Medium Cut**: approximately 3.5 cm – One Small Cut: approximately 2 cm
Make careful to fold these cuts into a crease.
- Reverse the Crease
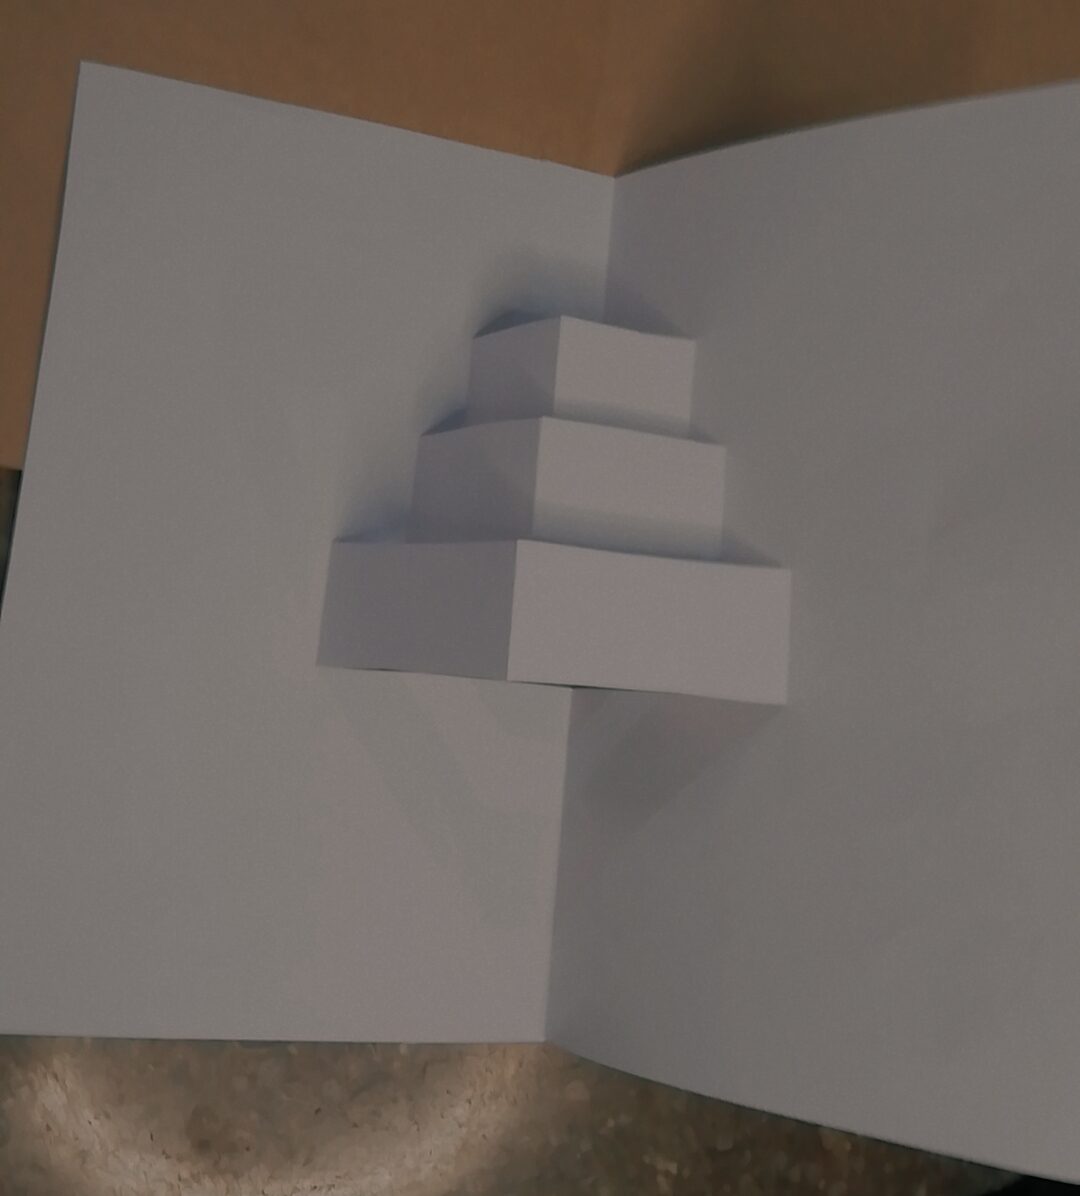
To create the pop-up structure, open the paper and gently flip the crease.
- Securing the Document
One side of the paper at a time, adhere it to the cardstock. Tightly press down to lock in place each side.
- Use ornaments on your card
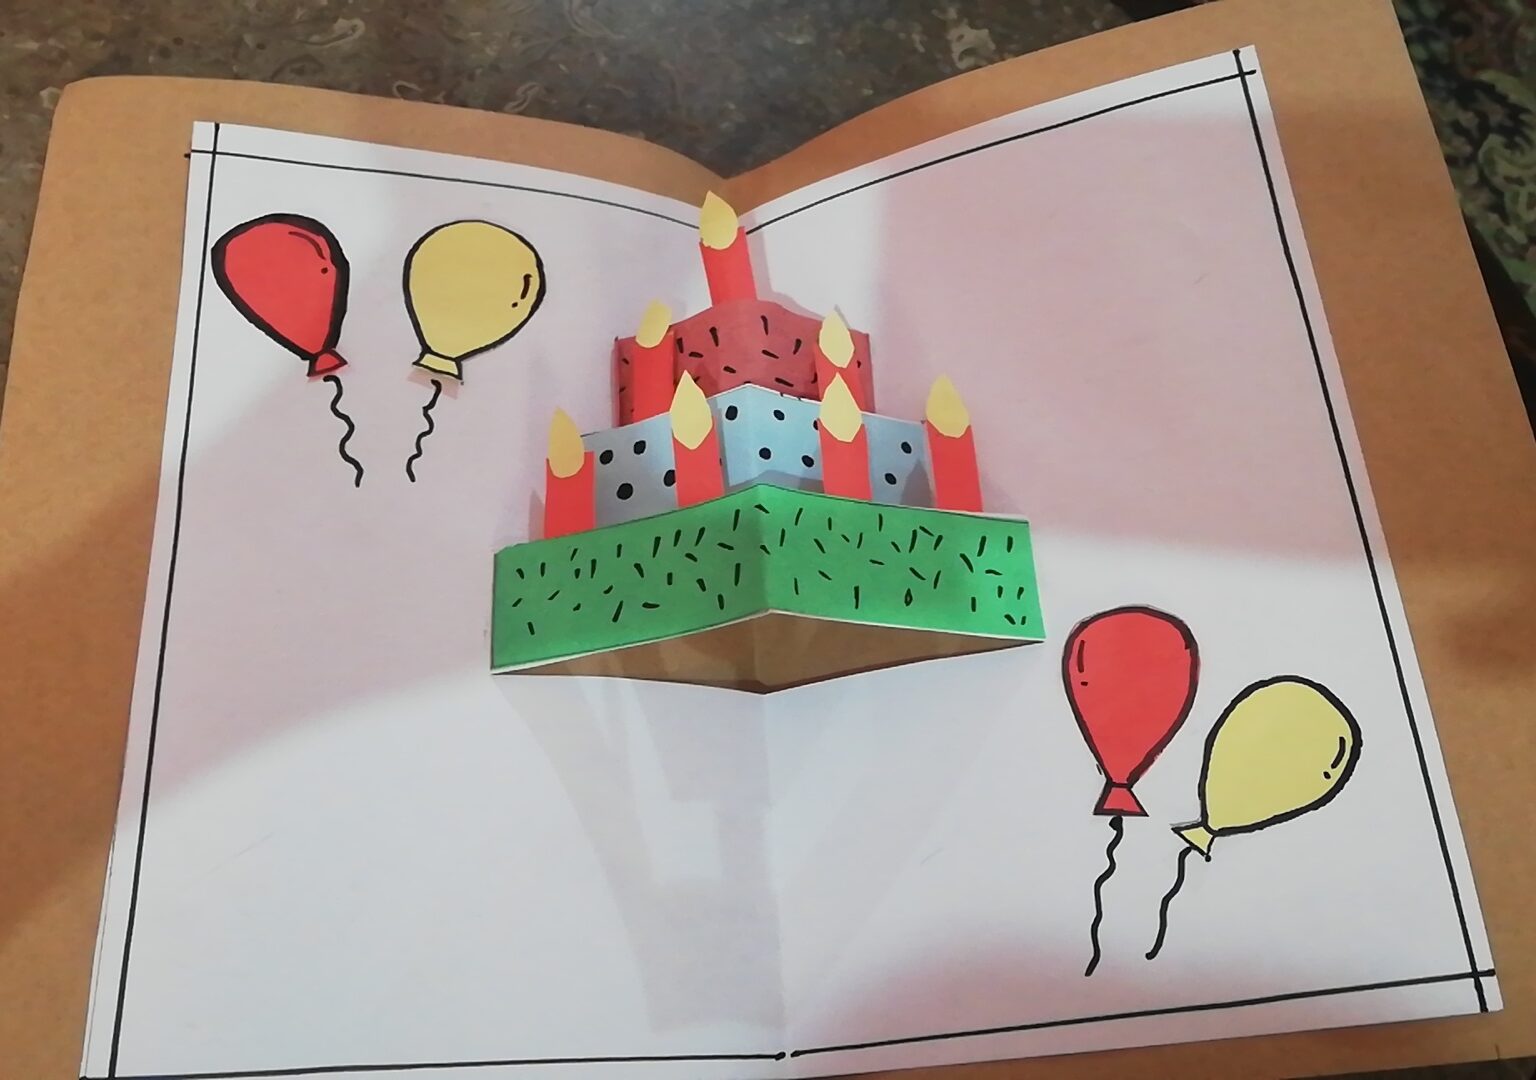
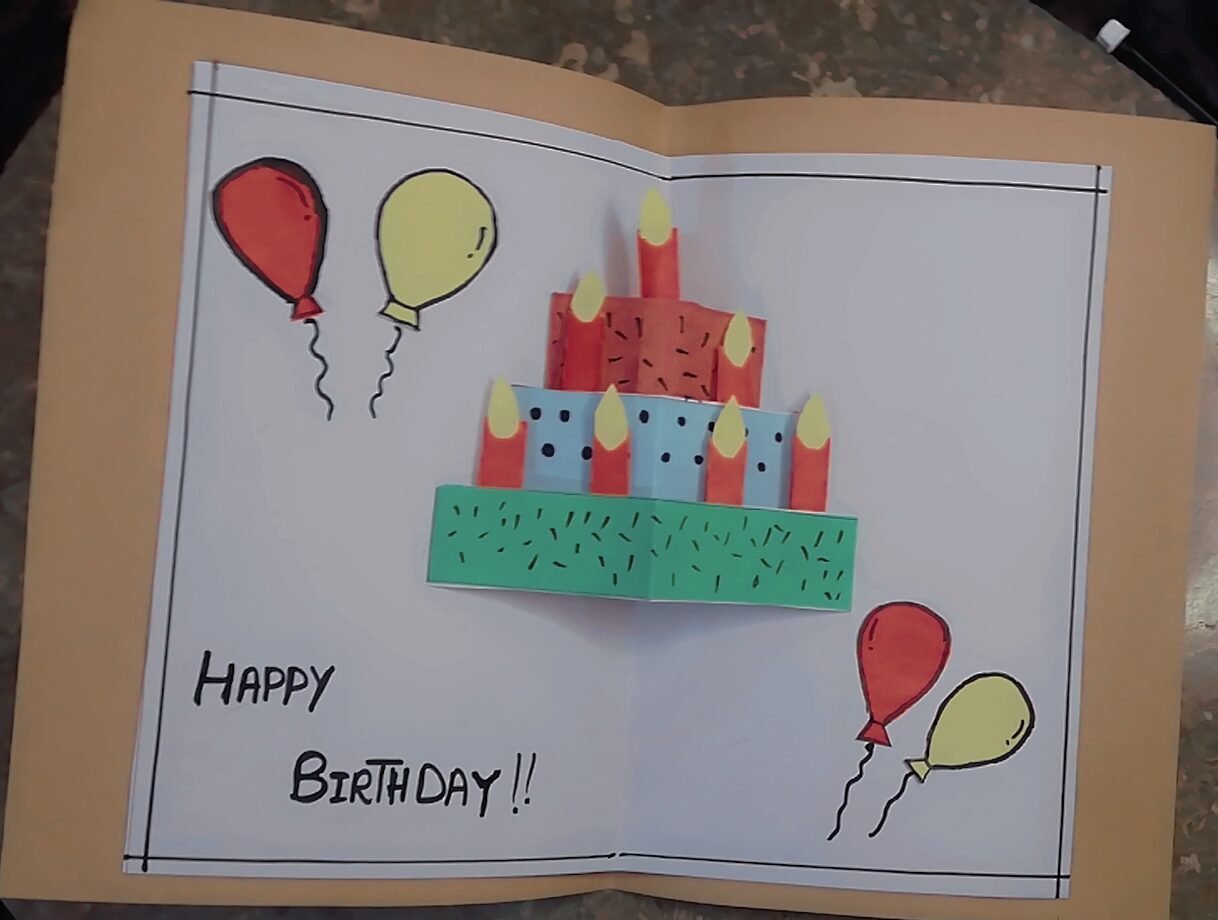
Given that your standard pop-up The cake is done, now let your imagination run wild! Utilize the leftover paper to embellish the card’s general design and garnish the cake.
Final Reflections
Making a pop-up cake card is an entertaining and enjoyable craft that goes well with any party. These easy steps will help you make a personalized and distinctive card that will wow your loved ones. Have fun creating and use your creativity to the fullest.
Applying Theory of Color to Your Designs
For artwork to be harmonious and visually pleasing, color theory is essential. Emotions and moods can be evoked by colors. For striking contrasts, use complementary hues; for a gentler effect, go monochromatic.
Making the appropriate color choices will increase the effect of your wall craft. It can transform your house into a chic haven.
Presentation and Present-Giving Ideas
Simply creating the ideal pop-up birthday card is just the beginning! It’s time to consider how to present it to the fortunate recipient now. The presentation can be made even more memorable by infusing it with some originality.
Think of placing the pop-up card within a designer box or a stylish envelope. It generates excitement and demonstrates your concern. Picture the happiness on your loved one’s face as they discover your pop-up card within the unique package.
Include the card in a larger gift for an even more thoughtful touch. Place it in a gift bag along with their favorite handmade crafts, cards, or paper crafts. A thoughtful present and a card made with love will make the birthday celebration extra special.
Giving a pop-up card brings joy as much as the card itself. A basic card-making endeavor may become an unforgettable gift-giving experience with a little imagination and attention to detail.

“The true joy of gifting lies in the thought and care you put into it.”
Changes and Sophisticated Methods
Are you prepared to advance your pop-up card abilities? Explore the realm of variants and sophisticated methods. To make your designs stand out, you might incorporate music effects and dynamic movement.
Including Sound and Movement
Add moving pieces to your pop-up cards to make them come to life. For interactive designs, consider using pull tabs, sliding mechanisms, or intricate folds. Your pals will adore the surprises that are concealed within.
Improve your cards using easy noises. A soothing melody or the sound of a fireplace might add a memorable touch to your cards.
Maintain the equilibrium of your design when utilizing advanced approaches. Ensure that the card’s sounds and movement elements complement its overall appearance.
Discover the craft of paper engineering and use your creativity to the fullest. Combine origami and pop-up card crafting to produce stunning designs. There are countless options available in the field of pop-up card variations.
Conclusion
It’s entertaining and imaginative to make a personalized pop-up card for a loved one’s birthday. You now know how to create a distinctive and memorable card thanks to this article. To make it unique, you can use elaborate patterns, lighthearted accents, or meaningful sayings.
This project combines card creation with paper crafting. It’s an opportunity to express your originality and celebrate with a special present. To make it meaningful, don’t forget to have fun, try new things, and add your love and sentiment.
Your card is unique at every stage, from selecting the supplies to putting the finishing touches on it. It is an opportunity to make something priceless that will be cherished for a long time. Celebrate your birthday and paper crafts by letting your creativity run wild happiness.
FAQ ;
What basic materials are required to make a pop-up birthday card?
The supplies needed to create a happy birthday pop-up card include colored card stock, scissors, glue, and glue sticks. Another useful tool is a ruler. To make it unique, you can embellish it with bows, stickers, glitter, or tiny 3D objects.
How can I make the pop-up design’s card base?
To begin, cut the card stock to the appropriate size. Next, to create the card foundation, fold it in half. Verify that the edge is sharp and clean.
Which design guidelines apply to the pop-up element?
Consider the design or topic you want, such as an illustration with a birthday theme or a geometric shape. Draw your ideas and experiment with various designs. Select one that complements the hobbies and personality of the receiver.
How is the pop-up mechanism put together?
Cut out the necessary shapes and pieces first. After that, begin assembling them. This could entail gluing, folding, and scoring. For a strong pop-up, take your time and carefully follow the directions.
What are some methods for personalizing the pop-up card?
You can include a personal note, the recipient’s name, or their favorite patterns or colors. Add some sparkle, ribbon, or stickers to give it a special, considerate touch.
Is it possible to add sound or movement to the pop-up card?
Yes, you may add even more personal touches to your pop-up card. Include moving parts, such as sliding mechanisms or pull tabs. Additionally, you can incorporate basic sound effects like music or a flickering fire, to captivate the receiver.








Post Comment