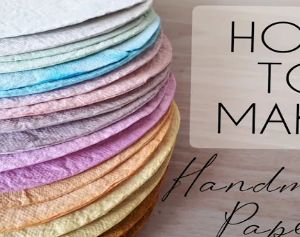
Handmade Paper from Recyclable Materials

Handmade Paper from Recyclable Materials
Introduction;
“Handmade paper is a sustainable and environmentally beneficial alternative to conventional paper that promotes a zero-waste lifestyle. The process of converting unwanted materials into beautiful, usable paper is both novel and transformational.
Handmade paper has a rustic, sustainable and eco-friendly , attractive appearance that gives a personal touch to artwork, stationery, and packaging. Instead of purchasing pricey store-bought alternatives, you may make your own handmade paper from recycled resources. This do-it-yourself activity is not only enjoyable, but also environmentally good, as it lowers waste and repurposes old paper scraps. This article will teach you how to manufacture handmade paper from recyclable supplies using simple, easy-to-follow procedures.
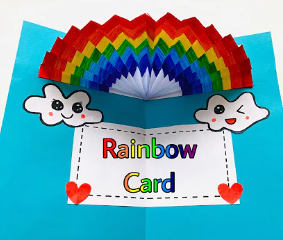
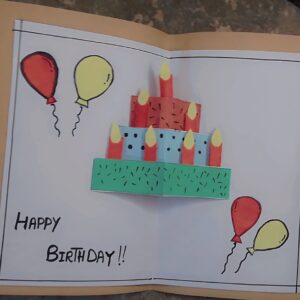
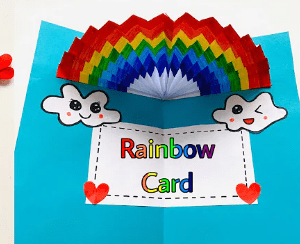
for previous article click he link below
https://affanartandcraft.info/rainbow-pop-up-card/
Materials You’ll Need:
Before you start, acquire the necessary supplies:
– **Old papers** (newspapers, work paper, envelopes to use, egg cartons, and so on).
– **A mixer or food processor**
– **A basin or big container**
– **Water**.
– **A frame made of wood or embroidery hoop**
– **The mesh or fine screening**(Can be taken out of an old window screen)
– **A sponge**
– **towels or absorbing cloth**
– **The rolling process Pin** (Optional)
– **Pressed flowers, foliage, or other embellishments** are optional.
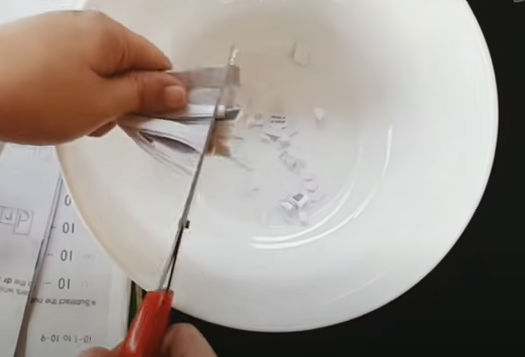
Step 1: Gather and Sort Your Papers
Begin by gathering outdated paper that you intend to recycle. This may involve newspapers, unwanted mail, printer paper, waste paper, outdated notebooks, and cardboard. Avoid glossy, waxy, or excessively coated materials, such as magazine and coated packaging, because they do not break down properly for papermaking.
Tear the piece into little pieces, about 1-2 inches in size. The smaller you rip the paper, the easier it is to combine into pulp later.
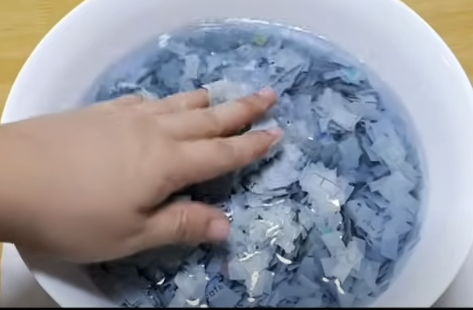
Step Two: Soak the Paper
After tearing the paper into fragments, arrange them in a big bowl or basin. Cover theAllow paper scraps to soak in warm water for 4 to 8 hours, or night if feasible. The soaking procedure weakens the paper fibers, which makes them simpler to combine into a smooth pulp.
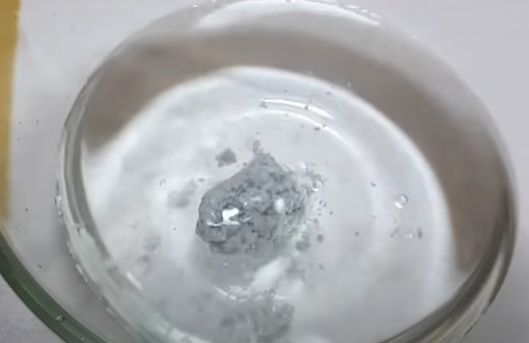
Step 3: Grind the paper into pulp.
After immersing the paper, it’s time to make it into pulp. Transfer the wet paper to a food processor or blender in tiny batches, adding only sufficient water to cover the surface of the paper. Blend the ingredients for 30-60 seconds till it turns into a thick, silky pulp. The texture should be like porridge or thick soup.
If you want to add some color to your paper made by hand, now is the time to mix in natural colors like beet juice, the spice turmeric, or even used tea.bags. Alternatively, add colored paper to the blender to achieve a beautiful speckled look.

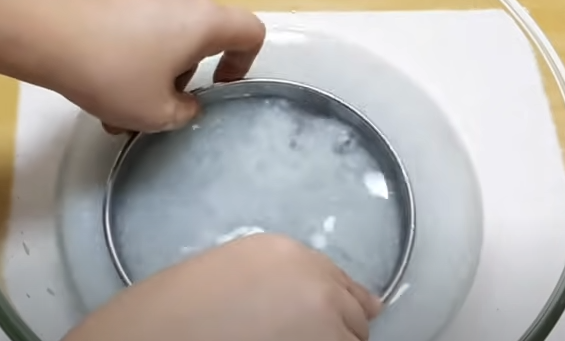
Step 4: Prepare Your Frame and Screen
To form your paper, you’ll need an framework and screen. To build a basic mold, drape a piece of fine mesh or screen over a frame made of wood (such as an old picture frame) or an embroidery hoop. Secure the mesh securely to prevent the pulp from drooping.
Step 5: Put the Pulp on the Screen.
Fill your basin or containers with around 2-3 inches of water. Add part of the blended pulp mixture to the water. Gently stir the pulp to ensure it is equally distributed throughout the water.
Next, slip the frame (mesh-side down) in the water.An angle. Slowly level the frame and hoist it out of the water, catching pulp on the surface of the screen. To ensure a uniform coating of pulp on the screen, gently jiggle the frame back and forth.
Step 6: Drain Excess Water
Once you’ve removed the frame in the water, let some of the extra water drain naturally. Place the frame on a cloth or towel to collect any drips. Using a sponge, gently push down on the pulp to extract even more water. Blot the pulp equally to ensure that it dries properly.

If the layer of pulp appears too thick, you may press harder to squeeze out additional water.Use a rolling tool to flatten it even further. Thicker pulp results in heavier, textured paper, whilst thinner layers produce lighter, more delicate sheets.
Step 7: Add Decorations (Optional)
At this point, you may experiment with your paper creation by adding decorations. Sprinkle dried flowers, leaves, seeds, or even threads over the wet pulp to give your paper a distinct texture and appearance. Press them softly into the pulp with your fingertips or a sponge, allowing them to attach while the paper dried.

Step 8: Place the Paper on a Flat Surface
After you’ve drained as much water as possible, carefully turn the frame over onto a towel that is clean or absorbent cloth. The pulp should adhere to the towel and leave the mesh screen.free. Lift the frame lightly from one corner and slowly take it away. If the pulp is still stuck to the screen, push it down with the sponge again before lifting.

Step 9: Dry the paper.
Allow the paper to air-dry after laying it flat on a towel. This process can take several hours to a full day, based on the thickness of the paper and the humidity level in your environment.
For speedier drying,
you can place the paper in the sun or utilize a fan to circulate air over it.

If you’re in a rush, add another absorbing cloth on top of the damp paper and carefully push down with a rolling pin to squeeze out extra moisture. Once it feels To quicken up the process, iron the paper on a low heat setting after it has been largely dry.
### Step 10: Get rid of and Use Your Handcrafted Paper.
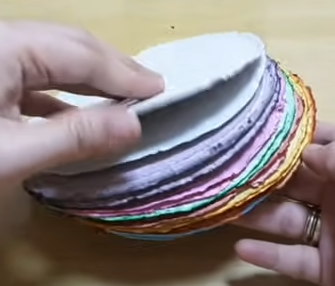
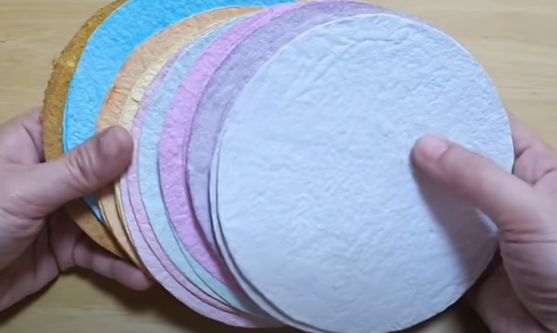
Once the paper has completely dry, carefully remove it off the towel. You will now have a sheet of handcrafted paper! It could have a slightly uneven surface or imperfections, giving it a distinct, organic look.
If the paper is too thick, you may smooth it out by pushing it against a heavy book for a few hours.
Innovative Ideas for Handmade Paper:
With your handcrafted paper, the possibilities are unlimited! Here are some interesting and innovative use for your own sheets:
– **Creating or Drawing**: Use paper made by hand for handwritten letters., notebooks, or sketchbooks. The texture provides a personal touch.
– **Gift wrapping**: Cover small gifts in paper for an environmentally friendly and artisanal presentation.
– **Card Making**: Make personalized greeting cards by cutting paper into smaller shapes and embellishing them with stamps, ribbons, or hand-drawn drawings.
– **Scrapbooking**: Add your handmade paper to a scrapbook for a textured, layered effect.
Tip and Tricks:
Try different textures**: Add sawdust, coffee grounds, or fabric scraps to your pulp to create a textured finish.
Natural dyes**: Use vegetable dyes, such as spinach or beet juice, to naturally color paper.
Recycling paper**: The beauty of this method is that you may utilize whatever spare paper you come across, eliminating waste and recycling outdated materials.
Conclusion:
Making handmade paper out of discarded materials a gratifying and sustainable activity in which you may make beautiful, one-of-a-kind paper while minimizing trash. Whether you’re an artist seeking for a new medium or someone who appreciates hands-on DIY crafts, this process is straightforward, environmentally responsible, and extremely fulfilling. So gather some old paper scraps, follow these instructions, and start making your own handmade paper now!


1 comment