How to make a Paper Pinwheel
Paper pinwheels are a multipurpose activity that kids can do with minimal guidance. They’re also pretty enough to use as DIY decor to provide some whimsical touches to any occasion.
A paper pinwheel is an easy toy or decoration created by folding and cut paper into a wheel form. It rotates when blown or placed in the wind. To make one, cut a square piece of paper from each corner to the center, fold the alternate corners inward, and put them together with a pin or tack. The pinwheel is frequently tied to a stick, allowing it to revolve as air passes through it. It’s a popular kid’s project that may be utilized as bright décor or for festivities.
A fantastic tool for aspiring scientists to investigate the properties of air and breath is a paper pinwheel! They will spin more quickly the harder your breath is. Allow these a pinwheel to enhance STEM education when you speak with children about turbines that spin, windmills, and sustainable energy as a parent or instructor.It’s
for previous article click the link below
https://affanartandcraft.info/1-diy-clay-bunny/
If you are childless, though, these pinwheels make a great DIY project for adorning baby showers, bringing some excitement to a breakfast buffet, or even dressing up a wedding.
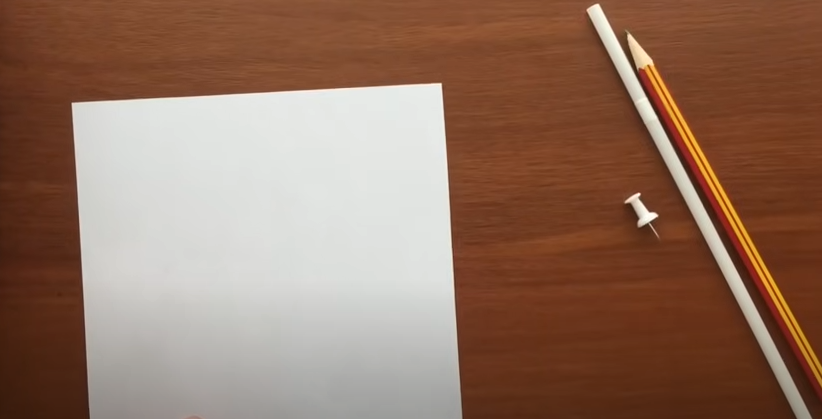
Items You’ll Require
Tools and Equipment
Scissors
Pen
Judge (optional)
Materials
1 square sheet of paper
1 straw
1 Pushpin
Tape for masking
Guidelines
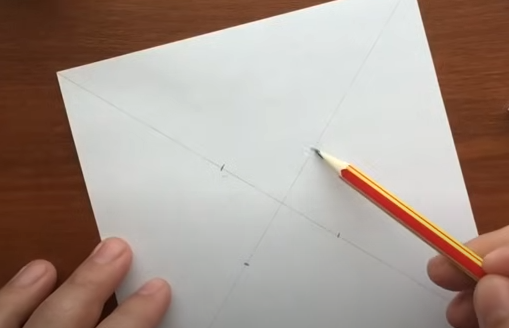
Make Lines
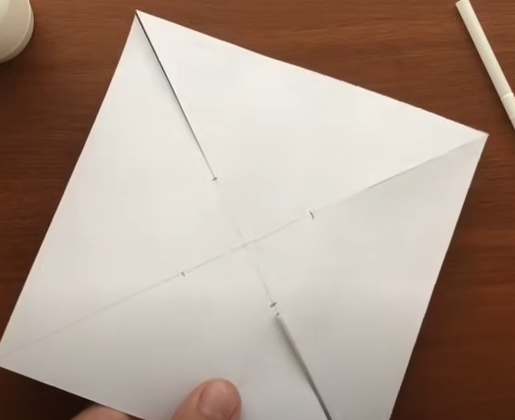
Mark the pencil center of your squared paper using a ruler. Use your eyes to find the center point if you don’t have a ruler. Next use your ruler to draw a line that is diagonal from each corner of the page, halfway to the center of the dot you just produced.
Advice
Make careful to draw your lines in the white side of the page if you utilize printed paper with a pattern on one side and white on the other.
indicating the incisions so that a paper pinwheel may be made
Take Down the Lines
Cut along the diagonal lines you just made on your paper using the scissors.
chopping up paper to create a pinwheel
Pin and Fold
Insert a pushpin into the paper and fold each point every other into the center dot. Patience is essential in this stage since the points tend to flee if you are not keeping them tightly.
securing the corners of paper in the middle

Attach to the straw
Grasp the pushpin firmly by its collected points with one hand, then use the other to push the remaining pin into a straw. For our pinwheels, we utilized paper craft straws, but you could also use a pencil or a plastic straw. After inserting the pushpin through the straw, cover the pin with a small piece of masking tape to ensure that no tiny fingers are pinched.

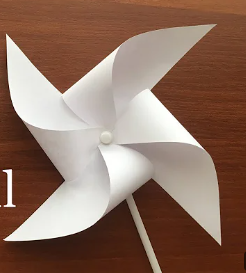
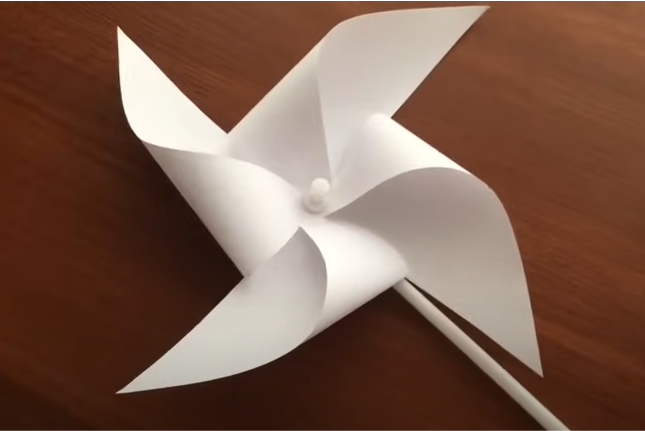
Finished point
Your paper pinwheel is ready to decor . If you want to make your pinwheel creative so you add some stickers or draw some drawings with color markers to make this more beautiful .


Post Comment